Last Updated on 03/07/2022 by Kevin Agar
PiHome and MaxAir
I thought I’d relate some information about home automation and heating control, which might help others. I wanted to control the heating in my house using a Raspberry pi, and be able to access it from anywhere. My first attempt was using a Raspberry pi zero W as the controller and several Raspberry pi zero W scattered around the house measuring the temperature in different rooms as well as outside.
I’d followed a system that was published by Jeffery Powell at https://www.instructables.com/Raspberry-Pi-Home-Heating-Controller/
After several attempts and a couple of problems I got it working and changed my heating system over to the new controller. One thing I did do was to leave the original Siemens controller in parallel, so in the event my system failed my wife could just turn it off and switch the Siemens controller back on.
I could now control my heating from anywhere, including when away from home, using my smart phone.
This meant that if I returned from holiday, I could switch the heating on at the airport so that when I got home the house was nice and warm. This was great when it worked but did fail a couple of times, not due to the controller, but because I had a small leak in my system which dropped the pressure to <1bar, so the boiler refused to start. Hopefully solved this now.
Several things became apparent.
- I could only control the temperature in the Living Room
- All temperature measuring probes had to have a mains power supply
- Each new thermometer required a new pi (you could attach several DS18B20 to one pi but you’d have to run long wires around the house)
I thought about persevering with the project and trying to improve it but finally decide to try and find a better solution.
After searching the internet I finally settled on PiHome
It was almost perfect, and did have most of the things I wanted
- The thermometers were battery powered
- I could add electrical valves to the radiators to control each room
- I could access it from anywhere
- It was being actively supported and updated
- There were prebuilt boards, thermometers etc
I bought most of the system from PiHome Shop
- WiFi Smart Home Gateway – (Compatible with MySensors 2.x) €15 £12.75
- Wireless DS18B20 Room Temperature Sensor – (Battery Powered) x4 €48 £40.79
- Wireless Boiler Controller €17 £14.45
- Wireless Multi Zone Controller €22 £18.70
Total £86.69
Other things used
- Reliance Actuator 230V – Normally Closed x3 @£14.17 each at time £42.51
- Raspberry pi zero W £12.55
- Raspberry pi zero case £2.90
- Power switch £2.25
- DS18B20 £1.75
- Assorted connectors and cables and psu £80
Total £112.34
Total cost so far £199.03
Just as a comparison, a Hive system with 4 zones would cost approximately £900
Here is a diagram of my system
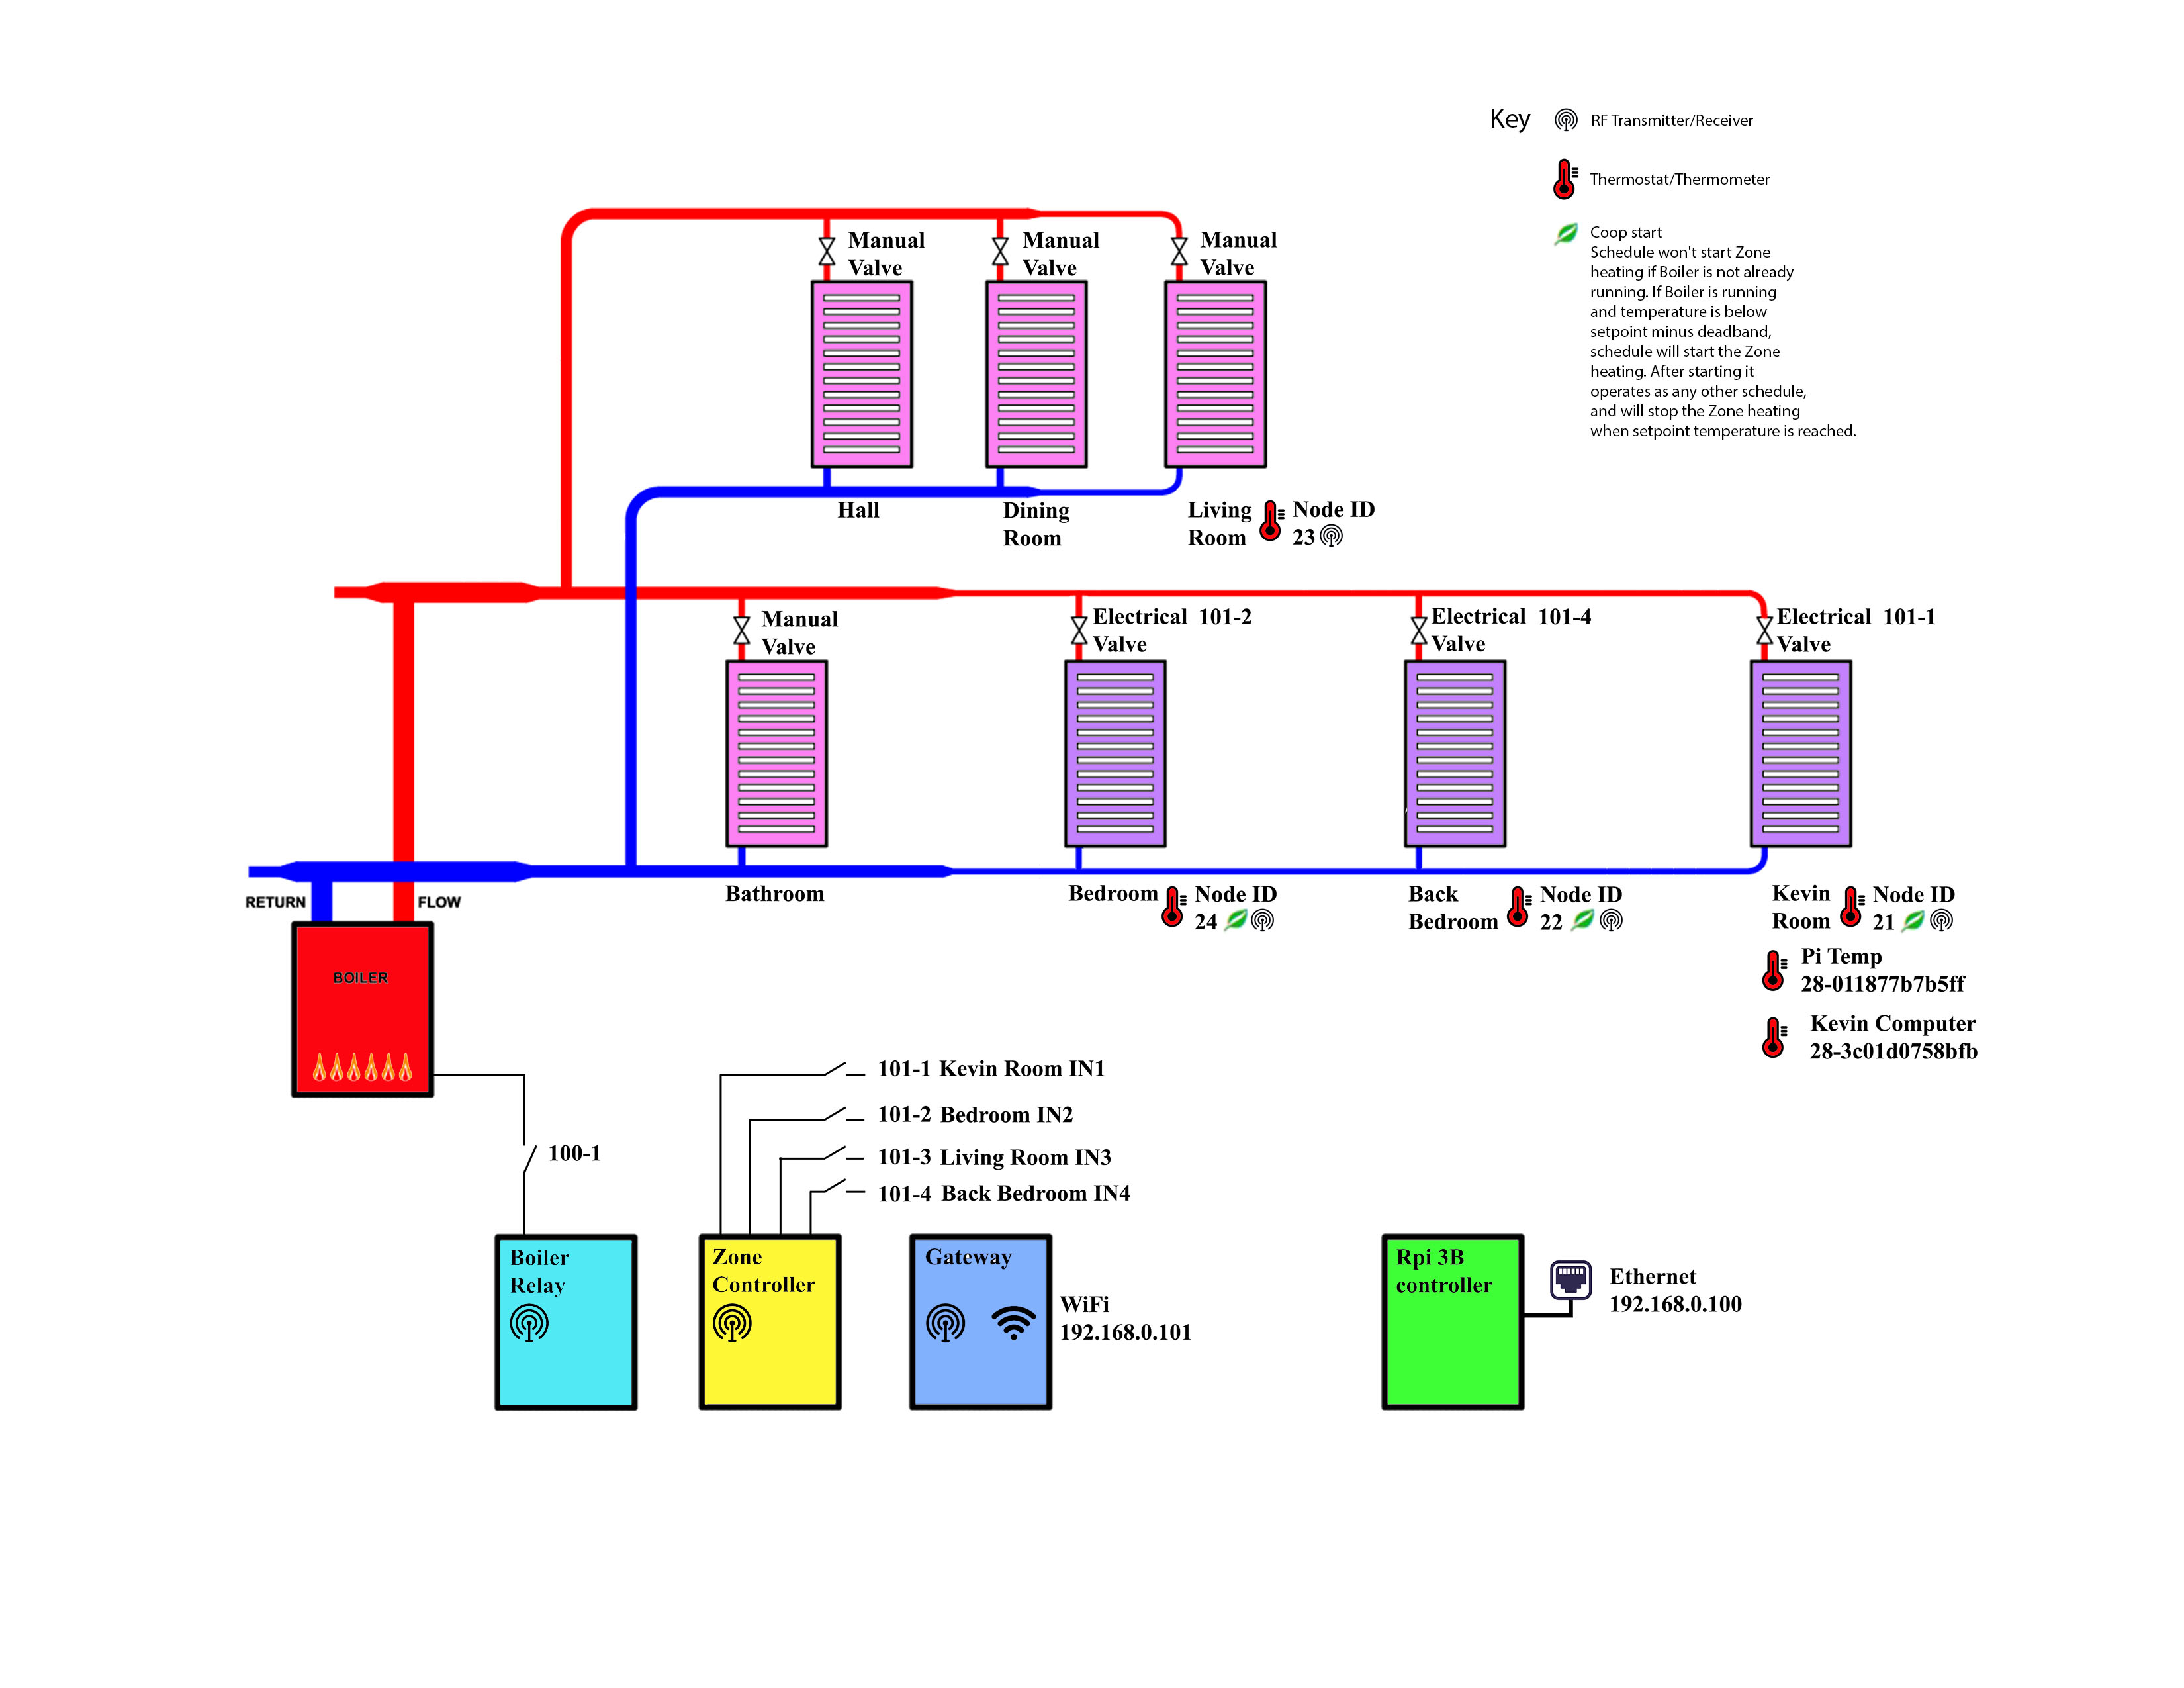
Running a cable to each radiator was probably the hardest job, but I added an inline connector to each radiator, so in the unlikely event one fails, it’s easy to replace a valve.
At the moment the Raspberry controller is in the small bedroom (my office) under the computer desk. The rest is in the airing cupboard along with the boiler.
The Controller
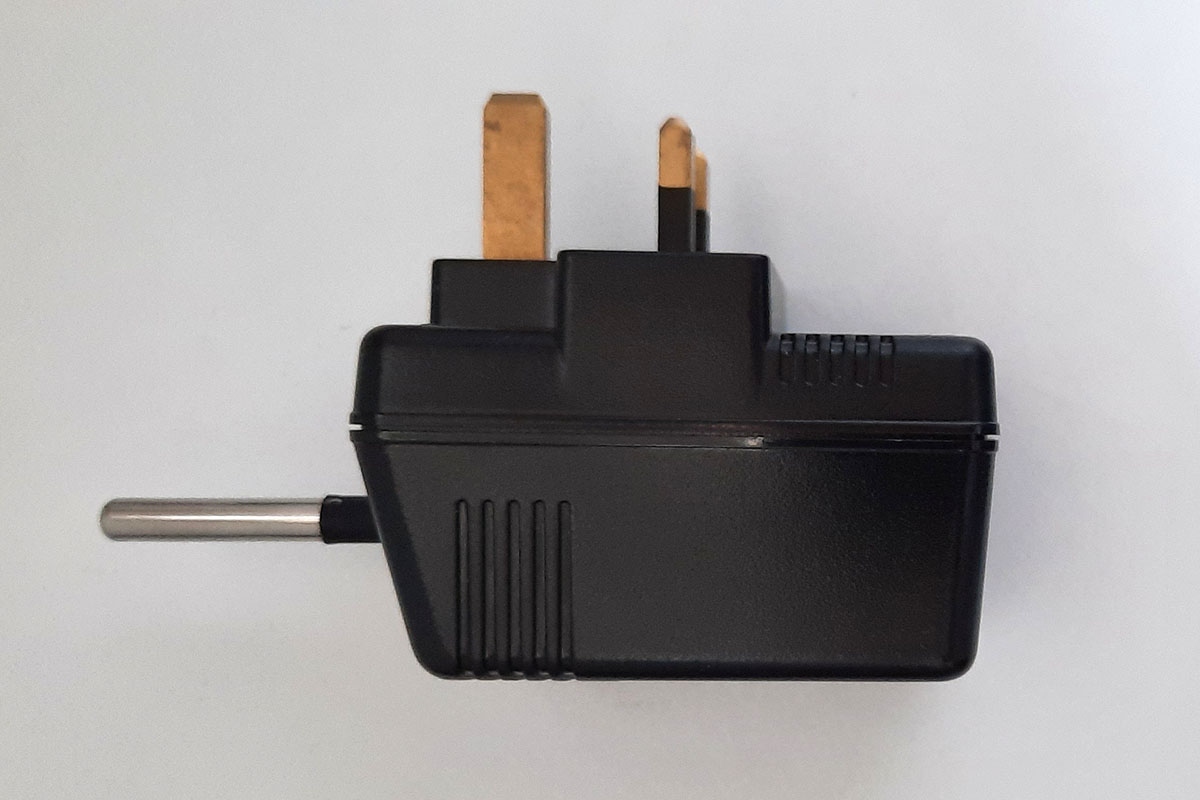
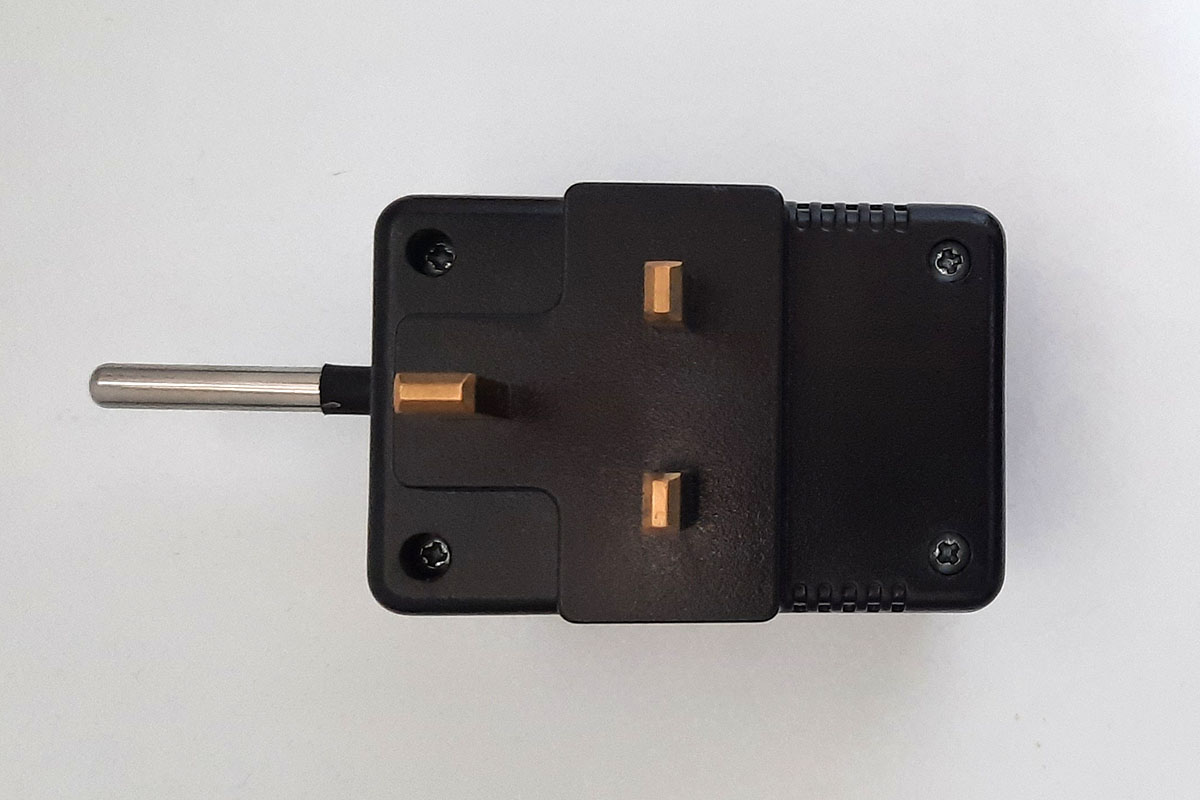
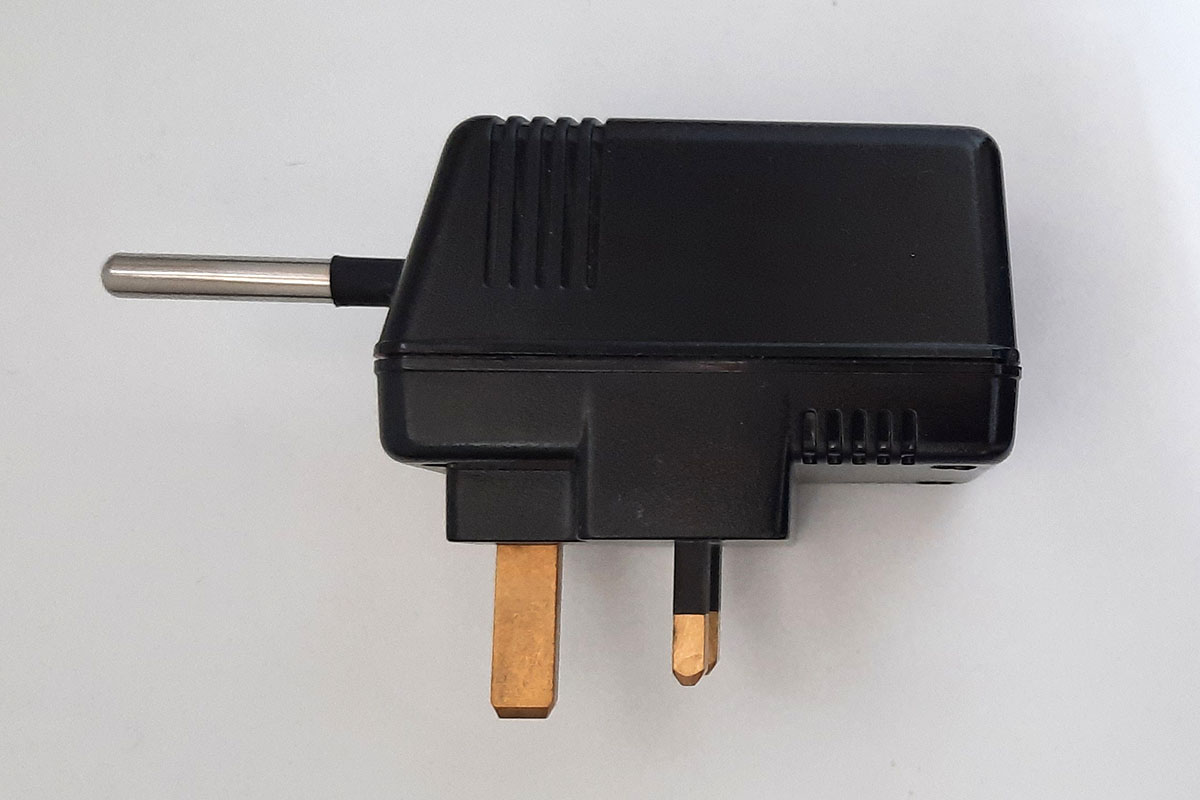
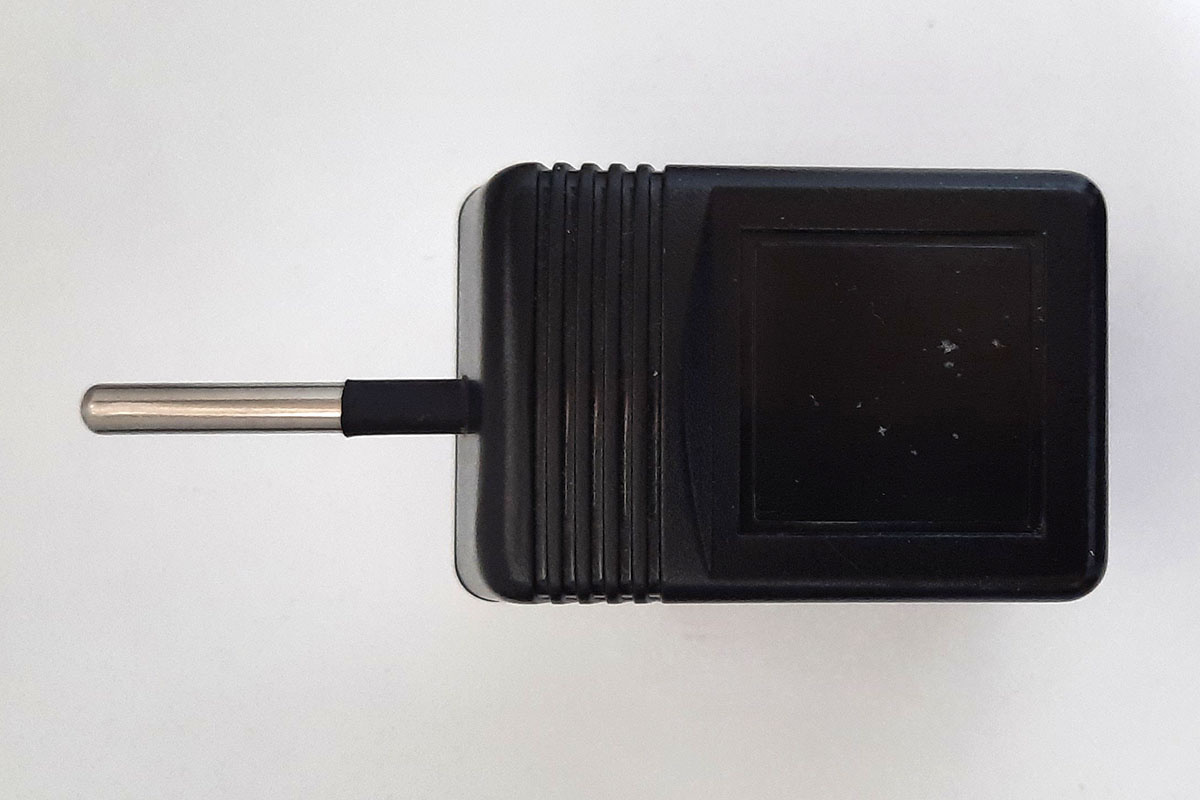
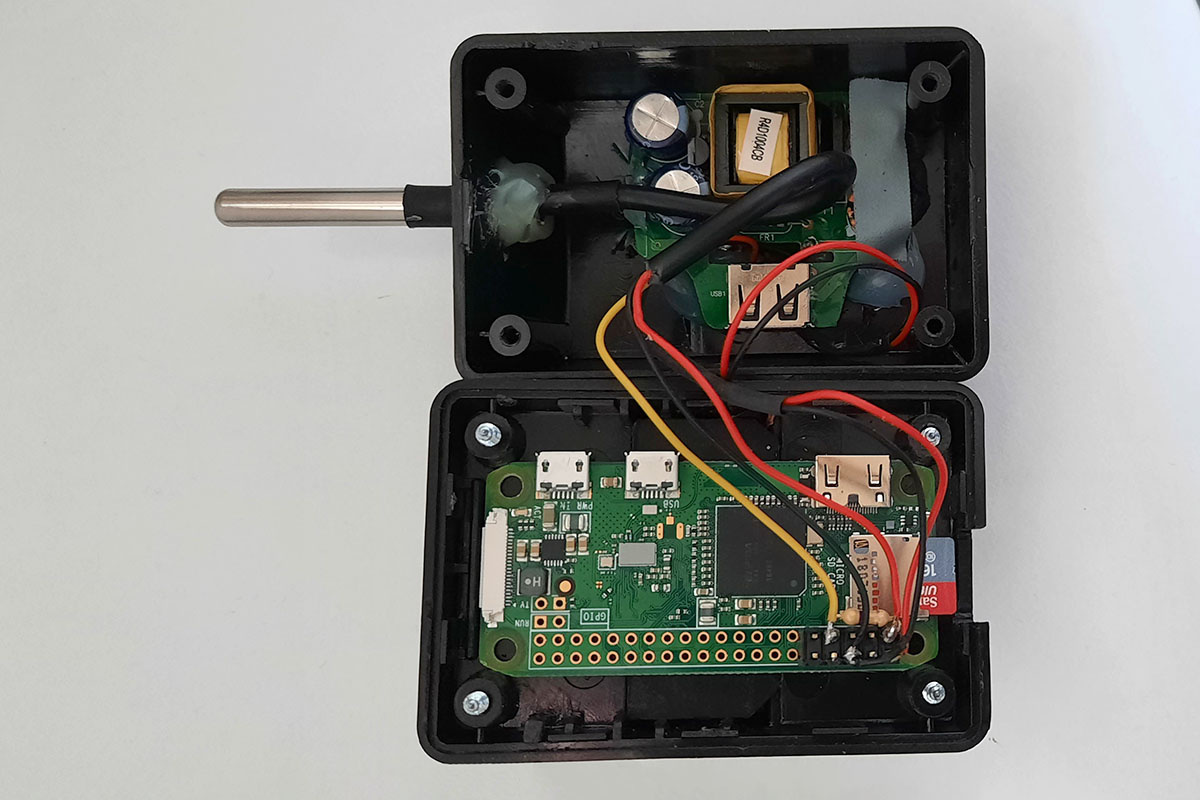
The Gateway, Zone Controller and Boiler Controller
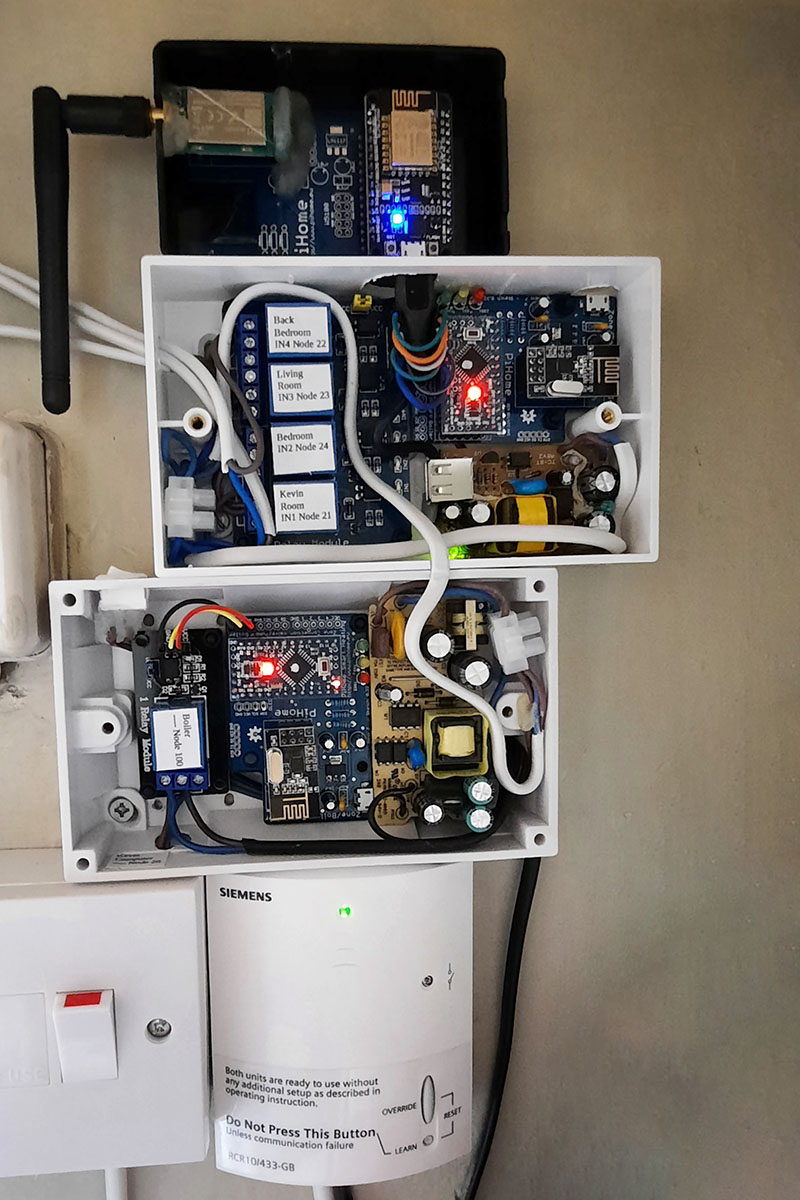
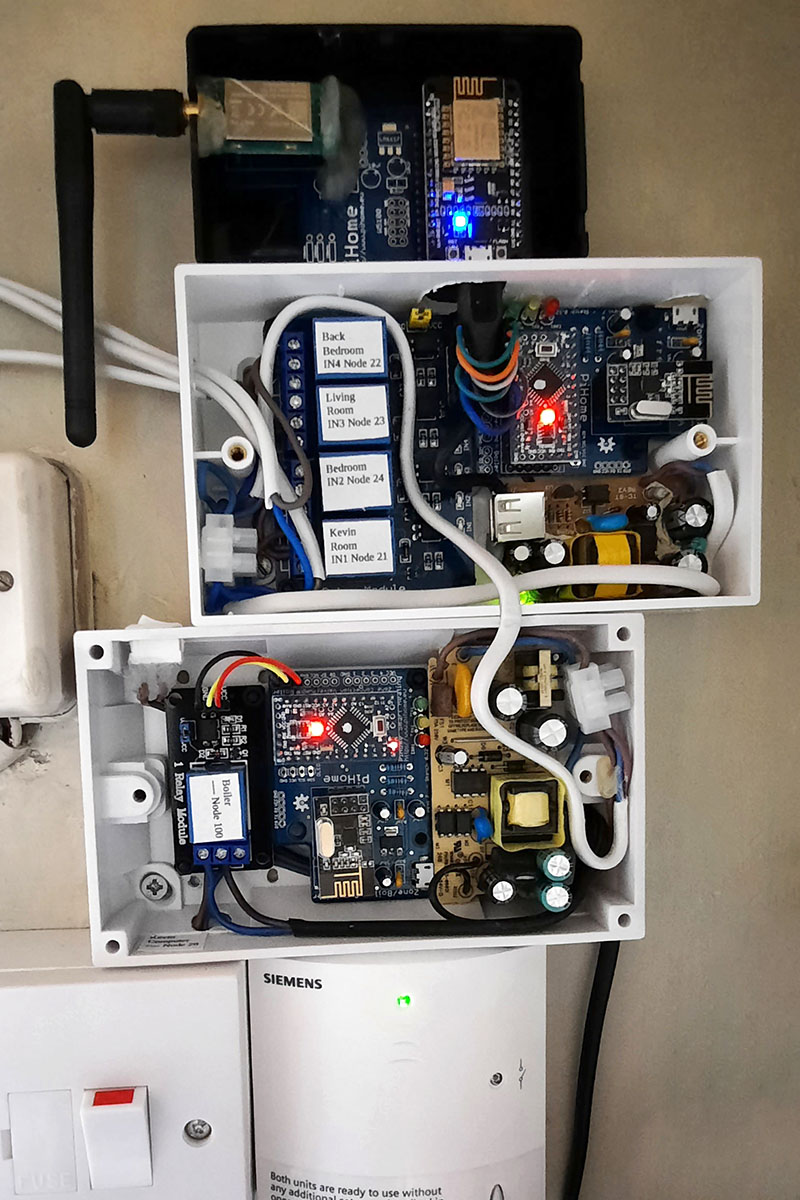
As can be seen, I used a PSU for the Zone Controller and Gateway and a separate PSU for the Boiler Controller.
After some trial and error, I finally got my system up and running, but still with a couple of niggles.
- I found the major problem was the slowness of opening different pages, especially the graphs. Sometimes it would take over a minute to open the window.
- Most of the time it worked faultlessly but every now and then it would stop working. After a lot of hair pulling out I traced it to my intermittent WiFi signal.
I solved both of these problems later by replacing the Raspberry pi Zero W with a Raspberry pi 3B
This meant that only the Gateway was connected to WiFi, and the Raspberry pi 3B was connected to ethernet. Stability was improved greatly and the speed was better.
I’ve had PiHome running my heating system since April 2020 with great success. Then around October 2020 there was a change of name to MaxAir, with a change of how the system was set up. It still performed the same functions, but with less bugs and a greater ability to recover from errors. I resisted changing to start with, as my system was working well, but finally succumbed. I can’t help tinkering to improve it. I’ve had it running now for quite a few weeks, after a few problems were sorted out by @terry on discord (mainly email). Everything was running great, with improvement that included
- Email now works. It’s now possible to get Alerts when things like battery voltage out of range, communications errors, cpu temperature etc.
- Backup will now send an email with the database backup file attached, as well as storing a copy in var/www
- The system checks with the github version and informs when there are updates to be installed
but….
During all the troubleshooting, I was changing files, making backups of files before changing them, and changing a few settings, so I decided to reinstall the software from a clean MaxAir image that was posted by @terry on 29/10/21. (Newer Images have since been added) I did this by:-
Download the Image Zip file from Dropbox.
Make a backup of the database via the GUI>System Maintenance>Backup
Create a new SD card using BalenaEtcher
To enable logging into the pi with a command prompt over the network, you need to add a file to the boot partition called ssh.
Whilst the SD card is still connected to the computer, navigate to the SD card which in my case was J:boot. Create a new text file in the boot partition and renamed it ssh, removing the txt extension (Ignore the warnings about changing file type)
Install it in the controller.
After the system has booted, open a web browser on your phone, tablet, or PC, and go to the IP address of your pi with MaxAir on it, in my case it is 192.168.0.100.
Log in with username and password and then go to Settings>System Maintenance and select MaxAir Updates, Check for Updates. Wait a while and then refresh the browser window and you should get System Updates and possibly Database Updates in the top right of the window. Update the Database and then the System files.
Log into the pi via the network using a command prompt
ssh pi@192.168.0.100 Change the ip to your own ip address
password: maxair2021 This is the default password which I’ve since changed to a 16 character random string.
pi@maxair:~ $
You should be in the directory for pi which is home/pi
Check this with print working directory command pwd
pi@maxair:~ $ pwd
/home/pi
pi@maxair:~ $
Copy the database file to home/pi from your pc using an ftp program like FileZilla
pi@maxair:~ $ ls
maxair_2021-11-01_08_21_04.sql
run the command sudo mysql -u root -ppassw0rd maxair < ‘the name of the sql file you copied’
pi@maxair:~ $sudo mysql -u root -ppassw0rd maxair < ‘maxair_2021-11-01_08_21_04.sql’
This updates the database with all your settings. then restart the system.
pi@maxair:~ $sudo shutdown -r now
Now everything is working with a clean install and your database with all your settings.
Now, as an insurance against failure caused by power cuts, faulty SD card etc it’s wise to do a backup of the SD card and keep a copy, so it’s just a case of writing to a new SD card and inserting it into the pi to get everything up and running asap.
Now the heating is working and everything is fine.
But…. As I said, I can’t help tinkering to improve it.
The problem with the continual reading and writing to the SD card means it’s prone to failing. Also it’s quite slow.
So what’s the solution? Replace the SD card with a USB boot device. I read the internet and found several articles on how to do this, but I also found some information about using an SSD rather than a USB memory stick.
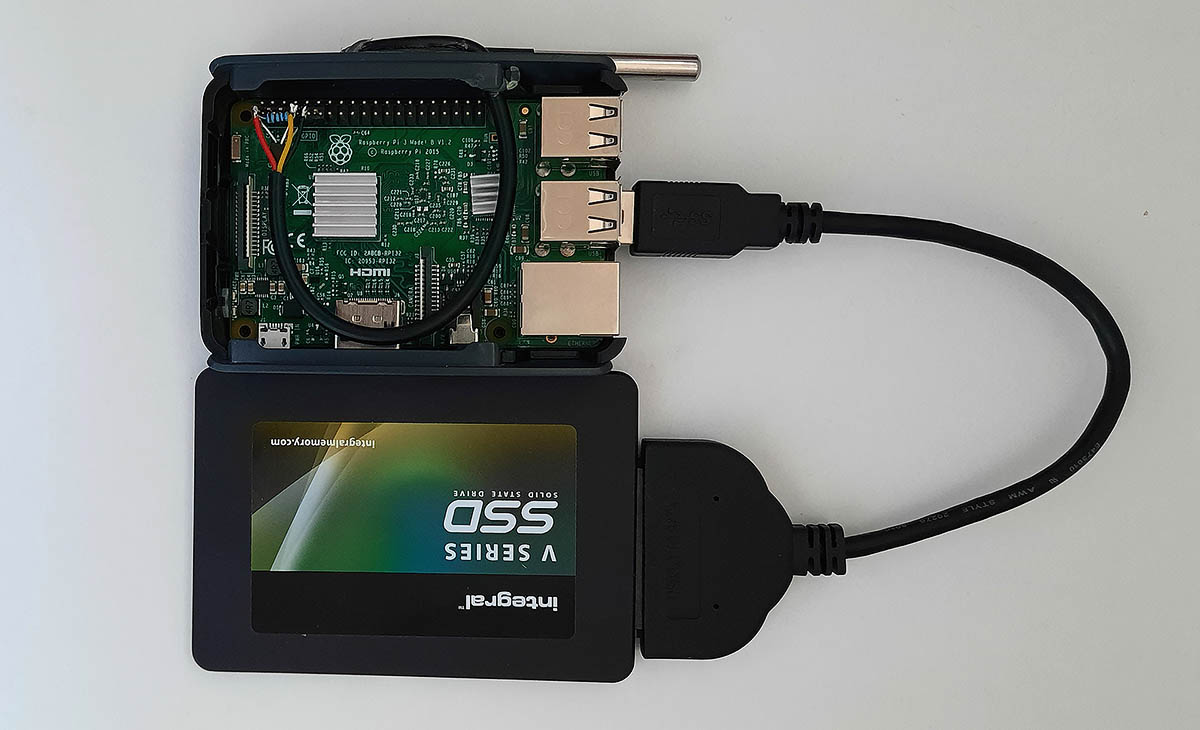
I then bought a
USB 3.0 to SATA Adapter for 2.5″ HDD/SSD £6.49
Integral V Series 2 120GB SATA III 2.5 Internal SSD £14.03
Total £20.52
Grand Total £219.55
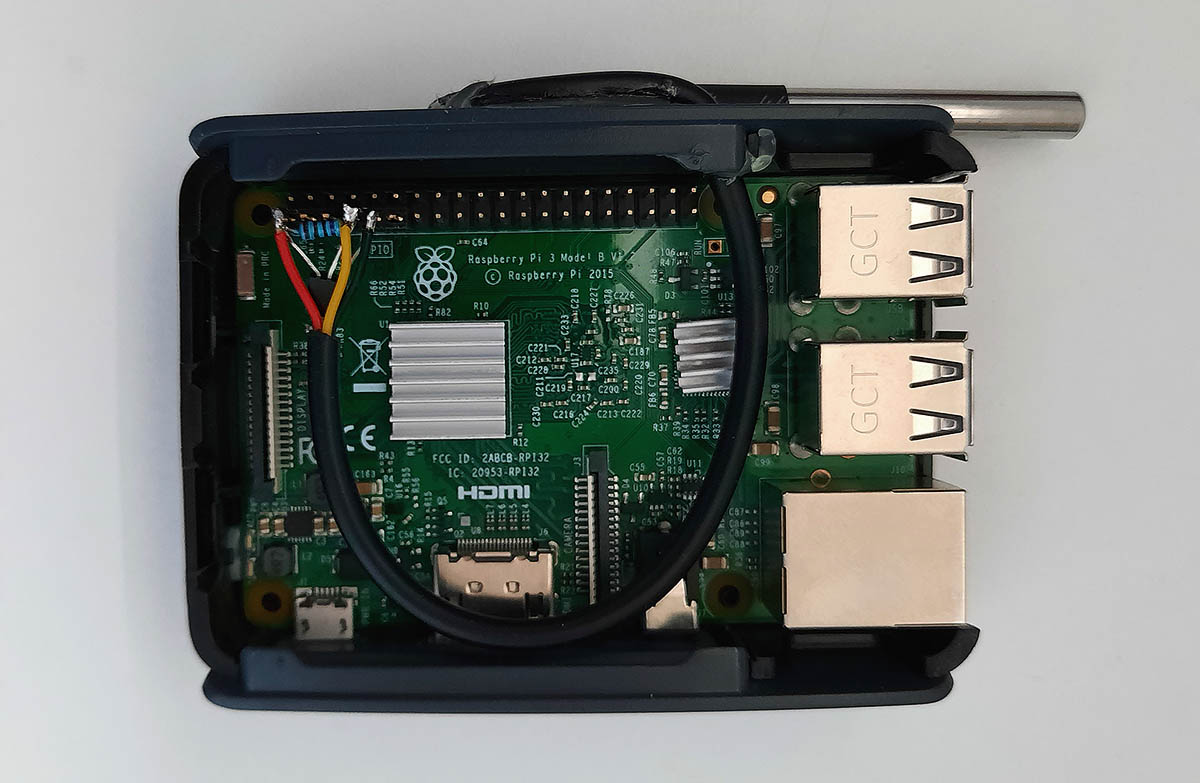
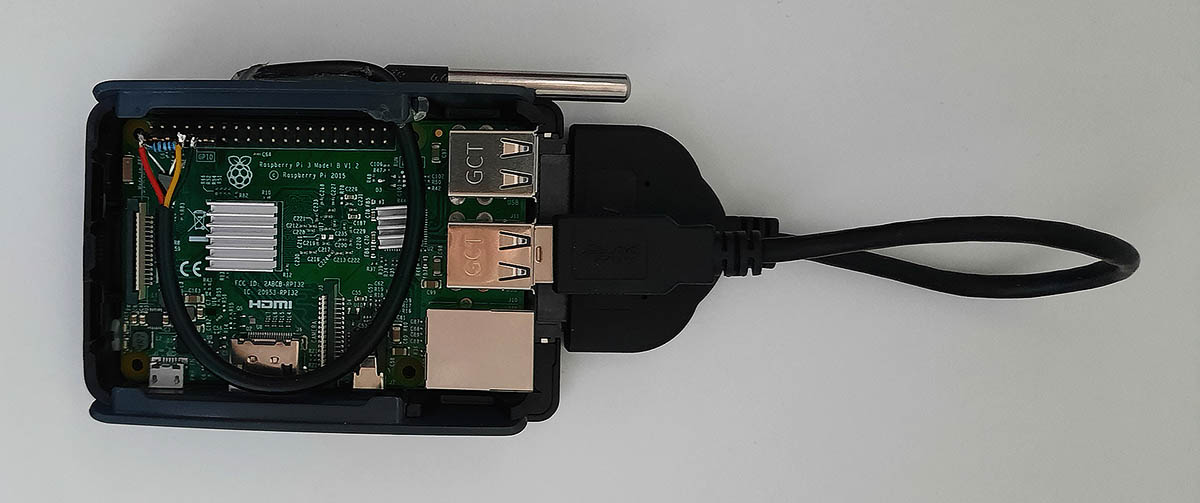
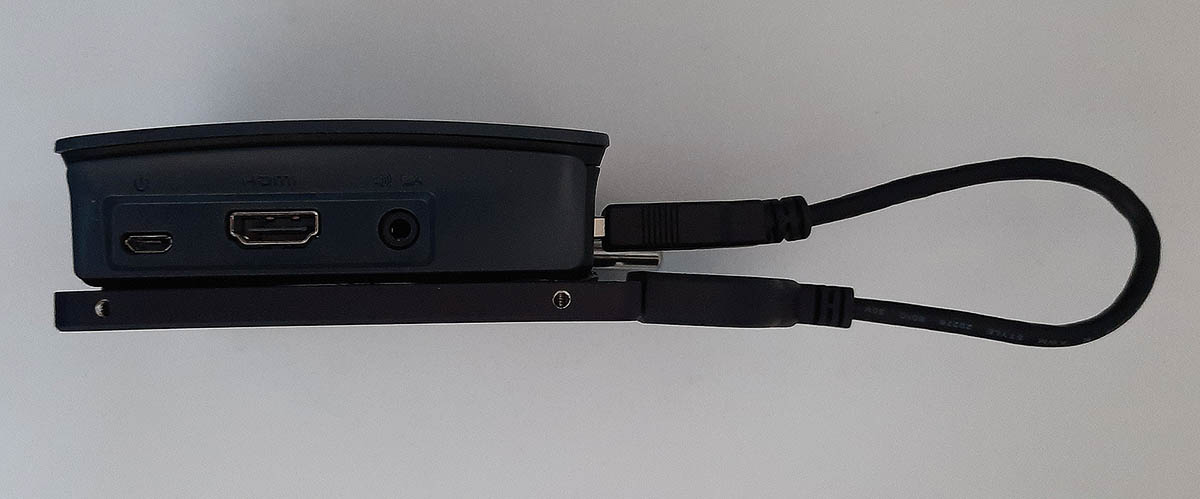
Here are some images of the latest system controller
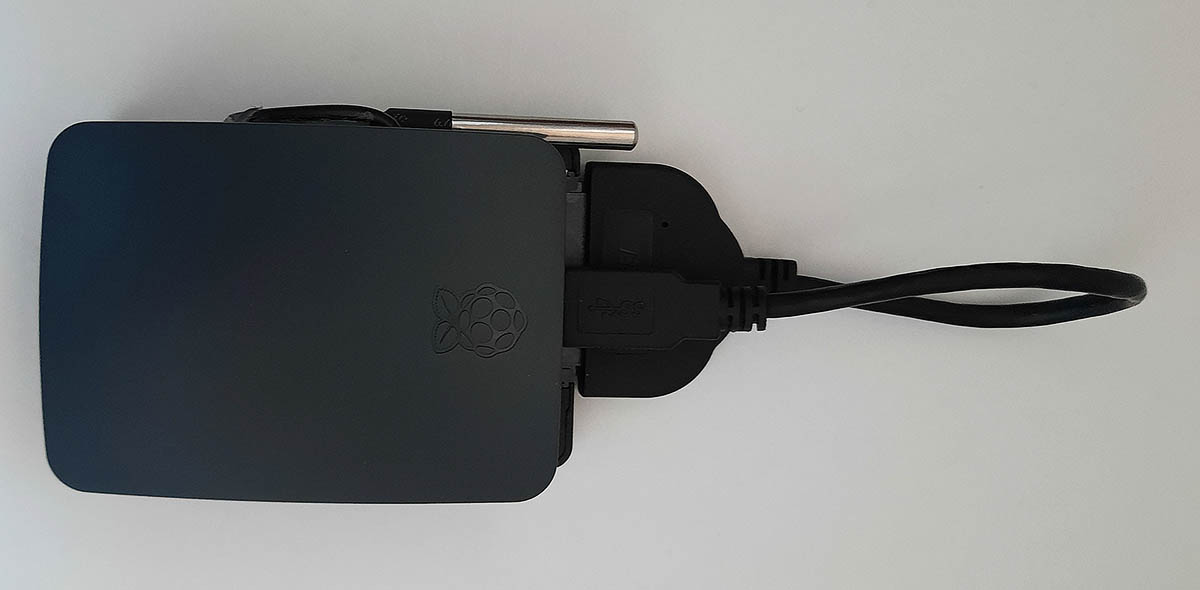

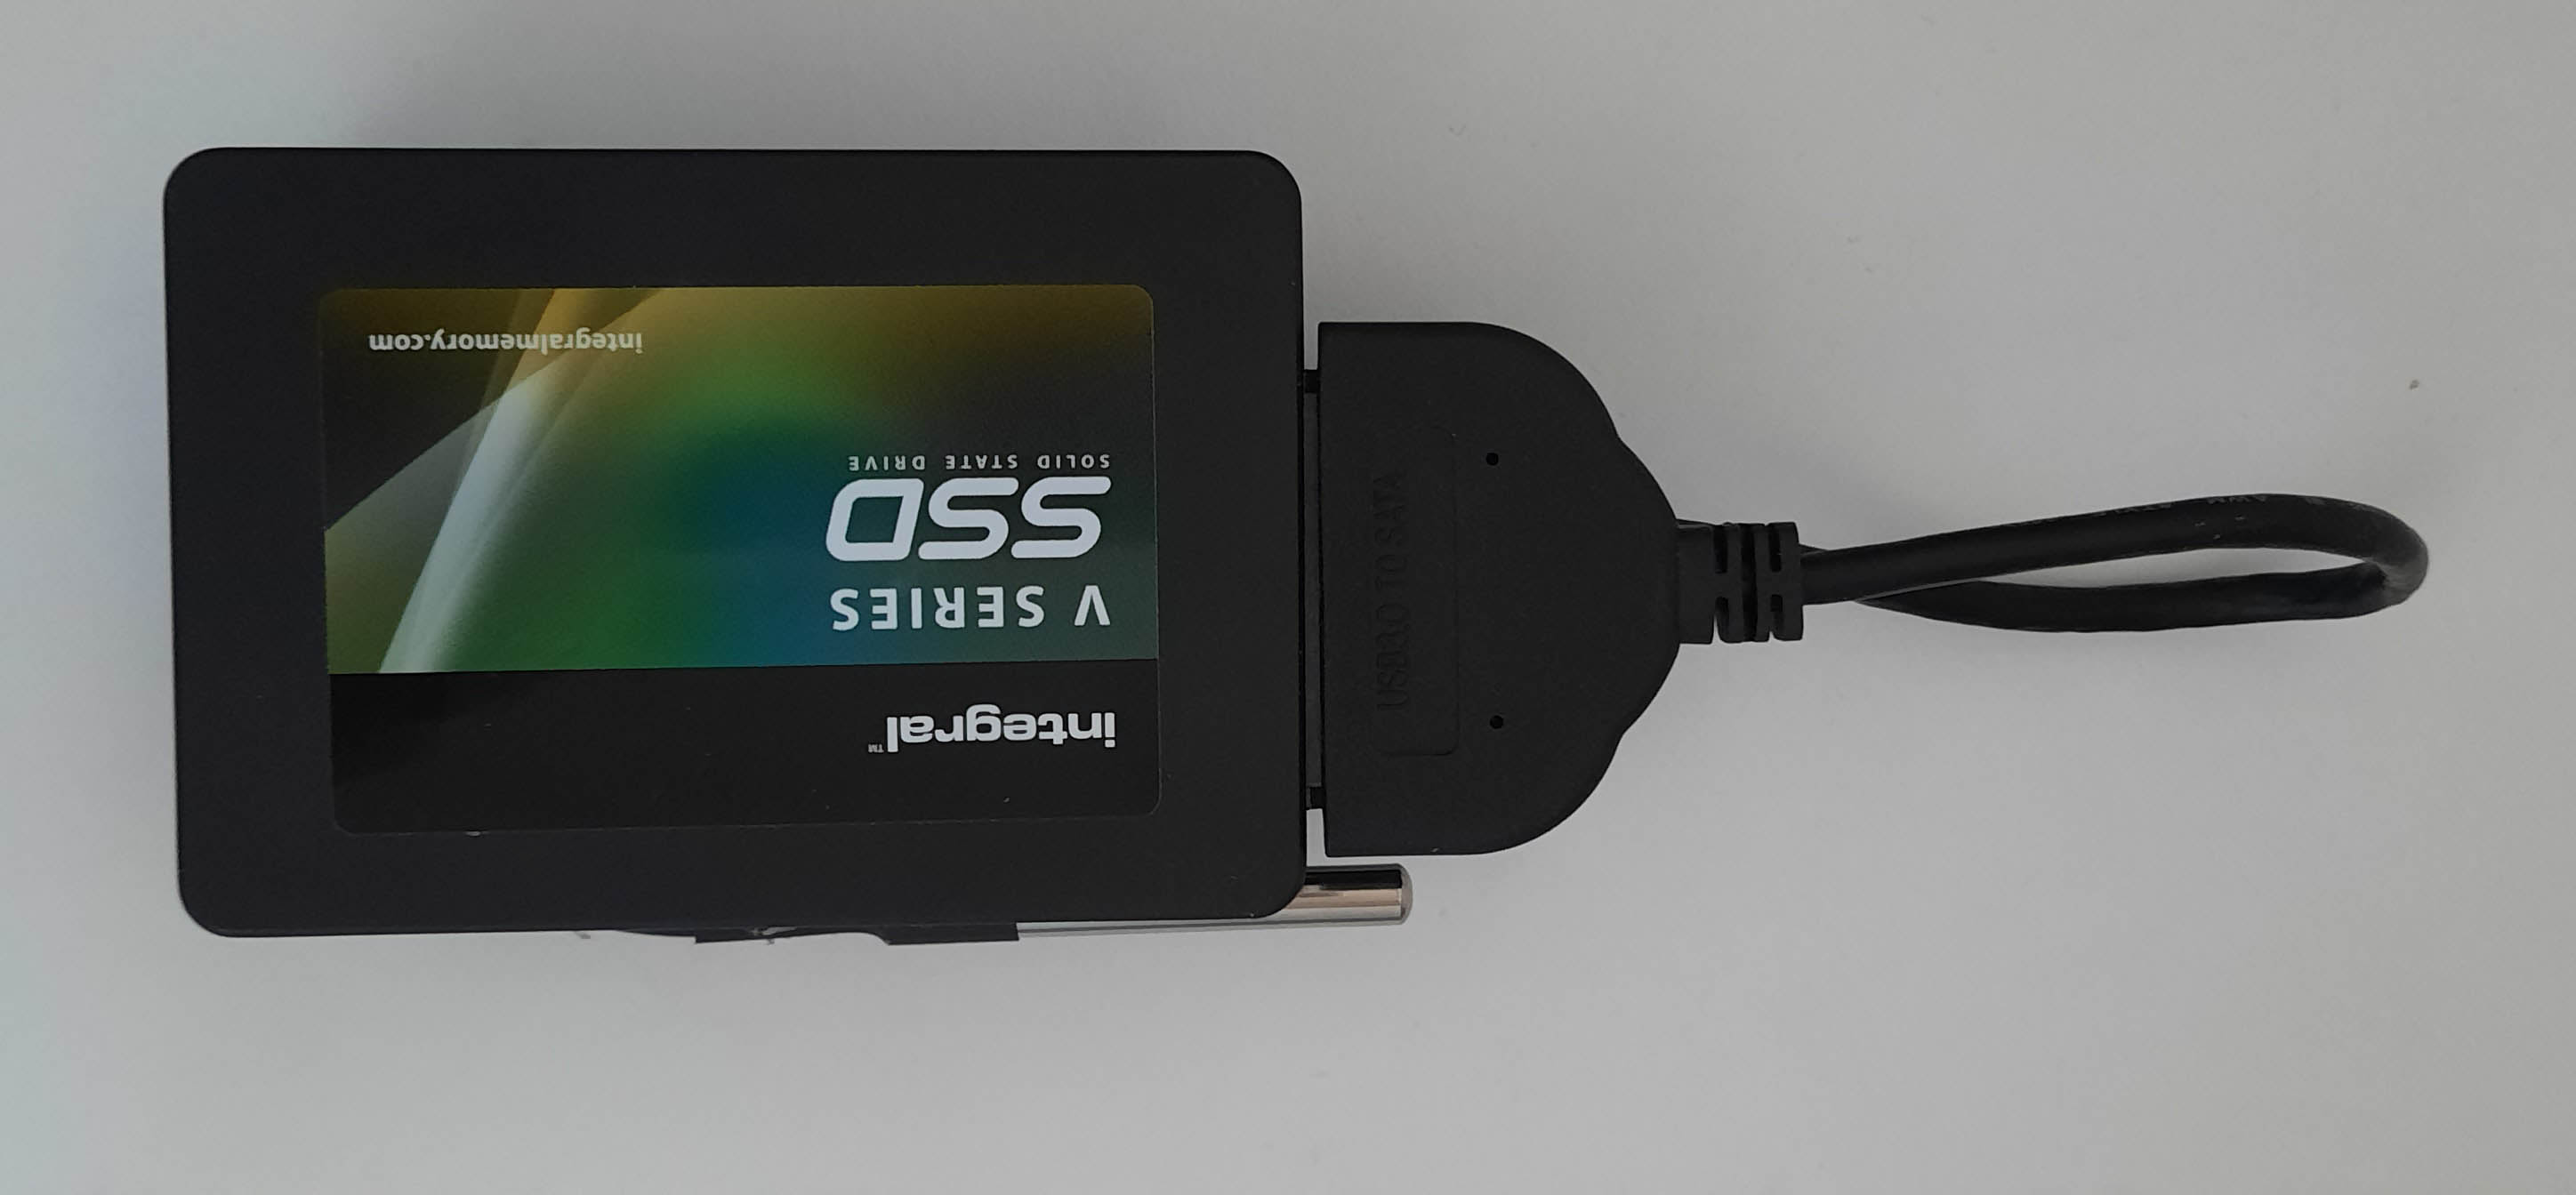
To make the Raspberry pi 3B boot from USB
Download the latest Raspbian Image
Using BalenaEtcher or whatever image writer you use, copy the image to a clean SD card
To enable logging into the pi with a command prompt over the network, you need to add a file to the boot partition called ssh.
Whilst the SD card is still connected to the computer, navigate to the SD card boot partition, which in my case was J:boot. Create a new text file in the boot partition and rename it ssh, removing the txt extension (Ignore the warnings about changing file type)
Remove the SD card from the PC and install it in the raspberry pi controller.
To check if the pi can boot from USB run the command
pi@raspberry:~ $ vcgencmd otp_dump | grep 17:
This gives an output as below
17:1020000a
pi@raspberry:~ $
You should see the output, 17:3020000a (if there is a 1 where the 3 is, USB boot is not enabled)
My pi wasn’t able to boot from USB, so I needed to change something and this is how I did it.
Please note! Before you continue you MUST update/upgrade!!! to get the latest OS/firmware
Enter the command
pi@raspberry:~ $ sudo apt update && sudo apt full-upgrade -y && sudo apt clean
When done, add the following lines to the config.txt file, found on the boot partition
program_usb_boot_mode=1
program_usb_boot_timeout=1
Reboot the pi
pi@raspberry:~ $sudo shutdown -r now
Now the pi should be able to boot from USB which you can check by
pi@raspberry:~ $ vcgencmd otp_dump | grep 17:
17:3020000a
pi@raspberry:~ $
You should see the output, 17:3020000a (if there is a 1 where the 3 is, USB boot is still not enabled)
Shutdown and remove the SD card
pi@raspberry:~ $sudo shutdown -h now
Install the MaxAir Image onto the SSD with BalenaEtcher using the backup made earlier
Add the file ssh to the boot partition as described earlier.
Start the system and it should boot to the SSD.
If it doesn’t then copy the bootcode.bin file from the boot partition of the SD card to your PCs desktop.
Get a formatted SD card. Any card will do, even an old 1Gb or 2Gb lying around, and copy the file bootcode.bin to it.
Create a file called timeout (no extension) and copy that to the SD card.
Insert the SD card into the pi and switch it on.
All being well it should boot to the SSD (my system required these steps)
Having done all that, my system is again up and running, but with a very much quicker response time, and hopefully a lot more reliability.
One thing I did do, but haven’t mentioned, is increase the data partition size. As the original SD Image was from a 16Gb SD card, that’s all that’s used on the SSD, which means about 100Gb is unallocated space. I attached the SSD to my Linux machine and used Gparted to increase the partition size to use all but 200M of the unallocated space.
Future improvements to the system include mqtt the outside temperature to the system. I also need some way to improve the connection of the living room sensor due to the fact it’s the furthest from the gateway and sometimes fails to communicate.