Last Updated on 08/02/2022 by Kevin Agar
Having set up the mapped network drives here I needed to stop the Red X from appearing when the mapped drives weren’t seen but were still available. I did this by changing the default icon for the mapped drives.
You can get the Windows 11 default Icons here
Once downloaded copy the icons to somewhere, for example
“C:\Windows\Icons”
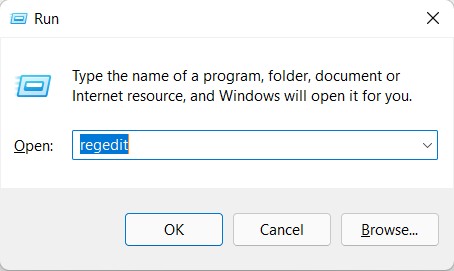
1. Press Winkey+R to open the Run box, type in regedit and click OK to open the Registry editor.
2. Navigate to HKEY_CURRENT_USER\Software\Classes\ and look for the Applications key. If you don’t have that key, then right-click on Classes->New->Key. Name that new key Applications.

3. Right-click on the Applications key and choose New->Key. Name it Explorer.exe
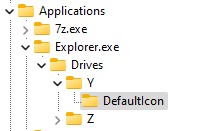
4. Right-click on Explorer.exe key ->New->Key. It must be named Drives. After you created the Drives key, right-click on it ->New->Key. This time, change the key’s name to the drive letter you want to change (example: Y). It should look something like below:
5. Now, create a new key inside Y key. Right-click on it and choose New->Key. Name it DefaultIcon.
6. Locate your icon in Explorer,
eg “C:\Windows\Icons”
Hold Shift and then right-click on the icon file, choose Copy as path
eg “C:\Windows\Icons\DDORes_2519.ico”
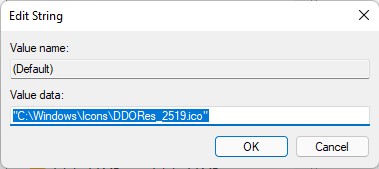
7. Back in the Registry editor window, double click on (Default) value of DefaultIcon key.
8. Paste the path you copied in step 6 to Value data. Click OK to save. After that, close the Registry editor. It should take effect immediately. If it doesn’t, please restart your computer.
To restore the default icon:
Delete the Y key (or your drive letter key).
Delete the Z key (or your drive letter key).
Since setting this up there has been a major windows 11 update. This caused all the changes I made to the registry to be removed
This meant going through the complete setup again, which is a real pain. So thinking about it I decided to Export the Explorer.exe branch of the registry, and this is what I did.
After doing all of the above, but before closing the registry editor, select HKEY_CURRENT_USER\Software\Classes\Applications\Explorer.exe
Go to File>Export…


Give it a descriptive name and save it somewhere. Then if Microsoft removes it again it’s just a case of going to your saved file and double-clicking it. This will add the branch to your registry.